Part 2 of a Leica R4 repair story.
A Leica R4 Rises from the Dead, Part II.
By Marwan el Mozayen.
Despite the title, neither my last blog article nor this one is based in the horror genre — these articles refer to maintenance on my Leica R4. The camera had been declared DOA (Dead On Arrival) by an “expert” technician. Fortunately, it was not actually irreparably damaged, and I was able to resuscitate it with just a few simple steps. You can decide for yourself what that says about the “expert” who gave the terminal diagnosis. If you want to read about the whole procedure, you can find it here https://silvergrainclassics.com/en/2022/12/a-leica-r4-rises-from-the-dead/.
Removing the side cover during the Leica R4 repair.
Anyway, the camera went from a paper weight to a working camera again, but unfortunately it didn’t function 100% after my first repair procedure. When firing the shutter there was a slight delay in the mirror action and shutter release. It almost felt like the camera was releasing in slow motion. This symptom is well-known and is often misdiagnosed. There is an internet rumour that all Leica R4-7 models have a very long release delay. This is another case where many “experts” have opinions based on a combination of half-truths and false interpretations. To explain the background, we must go back to the design and production of the R series. This was a cooperation between Minolta and Leica.
The Leica R4 shares some design concepts with the Minolta XD7/XD11 (Europe/US designation). But it is important to say that these cameras are not identical. They differ in many fundamental technical details. The XD 7 was ground breaking in terms of automation of exposure control. It was the first SLR to feature both shutter and aperture priority. Although it was not mentioned in the documentation, it also had a hidden program automatic. But what does all this have to do with the R4’s shutter release delay? Let’s take a closer look at both cameras’ shutter release processes.
The Leica R4 shutter release has three separate stages as pressure is applied to the shutter release button. The first activates the measuring electronics and LED displays in the viewfinder. In Aperture Priority mode, there is a function for storing these values; this is activated by a further increase in pressure on the shutter release button. Aperture lock is confirmed when the red A-dot LED sign in the viewfinder disappears. This last measured value is stored as long as the release button is held in this position. The third and final pressure point then releases the electronic and mechanical cascade to take a photo.
Because the Minolta was the first camera with both aperture and shutter priority, it had to be able to work with older lenses in aperture priority mode. To do this, the engineers used a trick: during a first open aperture metering, the camera estimates the shutter speed or the aperture based on the parameters set by the photographer. Immediately after the shutter release is pressed, a new light reading is taken after the automatic aperture is closed, and the electronics correct the shutter speed or aperture values if necessary. Only after this exposure double-check do the electronics give the “OK” to open the shutter.
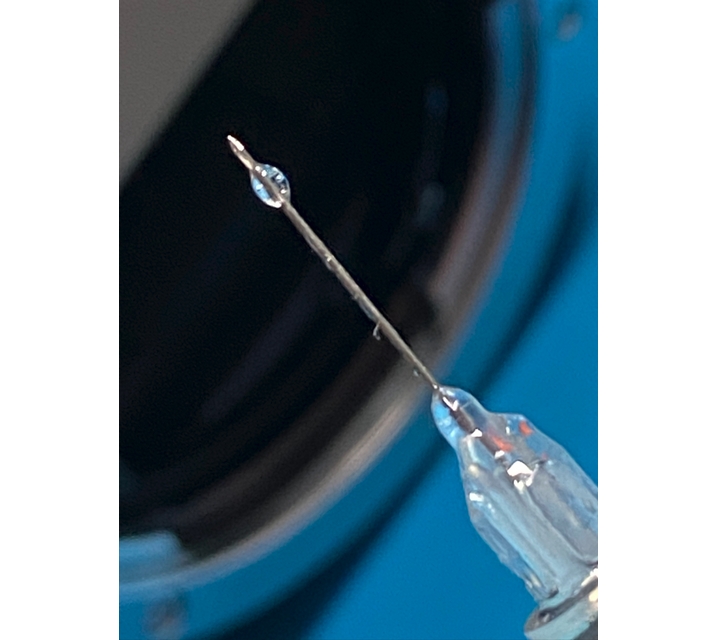
Just one drop of oil!
Practically, this means that first the aperture is closed, the exposure is then checked and corrected, then the mirror is raised, and finally the shutter opens and closes, and the mirror swings back. This cascade of events is particularly useful when the highest exposure precision is required. Minolta was so advanced at the time that Leica also adopted this technical process for the R4.
It sounds infinitely long when you read it, but according to a 1985 measurement of Leica R4s by the German photography magazine Photo Revue, it takes exactly 160 milliseconds. So, the Leica R4’s shutter release delay isn’t bad compared to other cameras of the time. For comparison, a car airbag triggers in about 50ms, and a blink of a human eye takes about 100ms. All this just goes to show that the shutter release delay of an R4 should not be noticeable — if there is a noticeable delay, something is wrong and it isn’t “just how it is.” The mirror damper of the R Leica is the usual suspect.
The Leica damper is basically the same as in the Minolta XD, with the slight difference that the Minolta’s damper is very easy to reach for service. In the Leica R4 getting to the damper is very time consuming due to the construction of the mirror box,. The damper itself is a piston, an air-braked cylinder, which controls the vibration of the mirror. The lubricant in the cylinder ages over time and becomes sticky, causing the piston to slow down. This problem is well-known to the Leica service technicians. The service manual stipulates extensive disassembly of the camera to access the damper. But since people are people, Leica technician or not, if there is a shortcut that works well, it will be taken. After all, who wants to disassemble an entire camera because of a minor problem?!
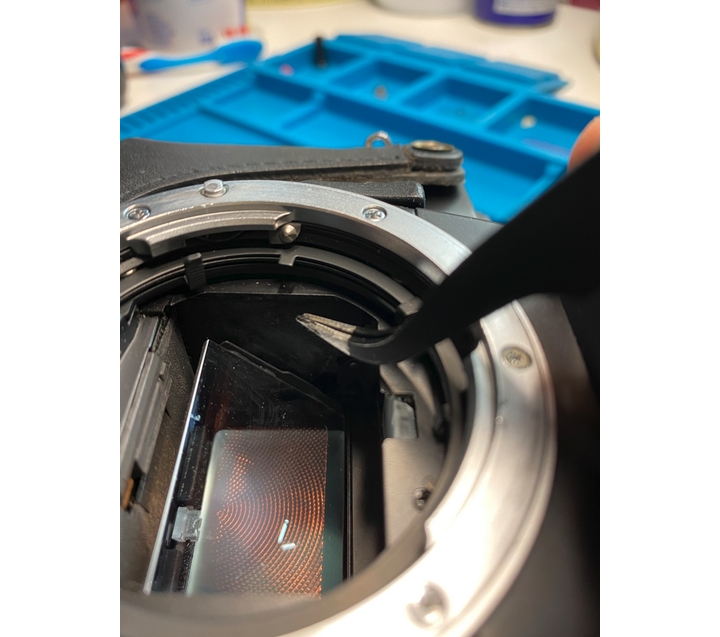
The procedure starts from the mirror box. The walls of the box are covered with an anti-reflective coating, the “palpas”. This adhesive layer tends to become either brittle or softened with age, depending on how the camera is stored. If it is brittle, precautions should be taken to prevent fragments from falling into the camera shutter or optics. In my particular case, the palpas were still soft and I could lift them carefully with a suitable pair of tweezers. Underneath was a metal cover that can be easily removed as a whole, revealing a square opening.
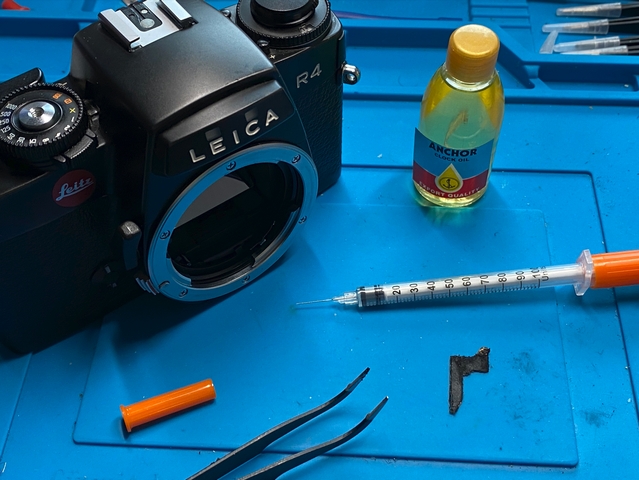
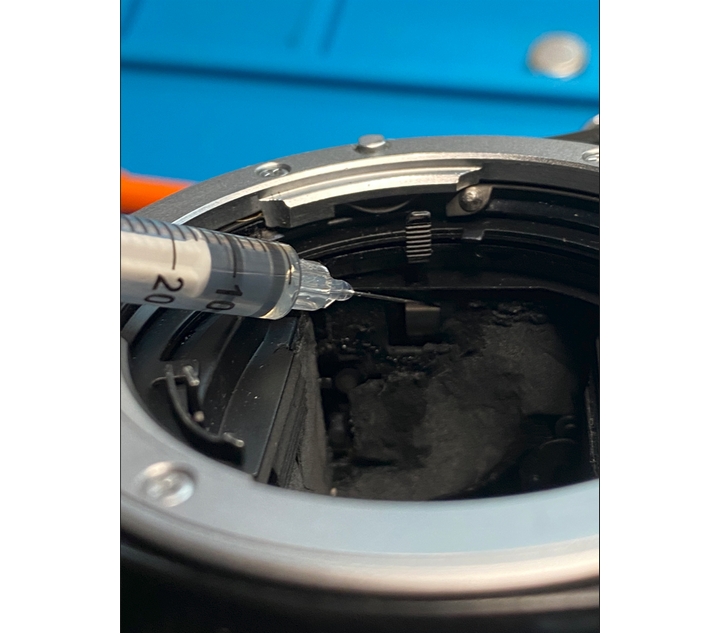
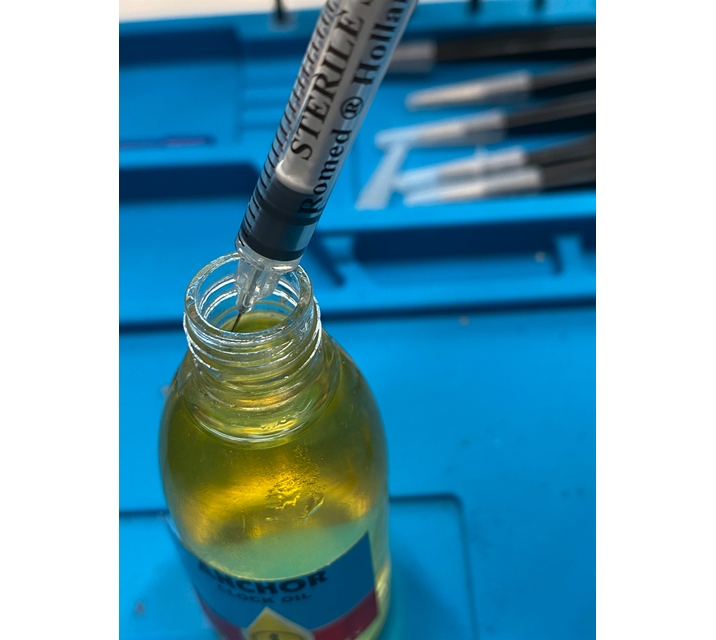
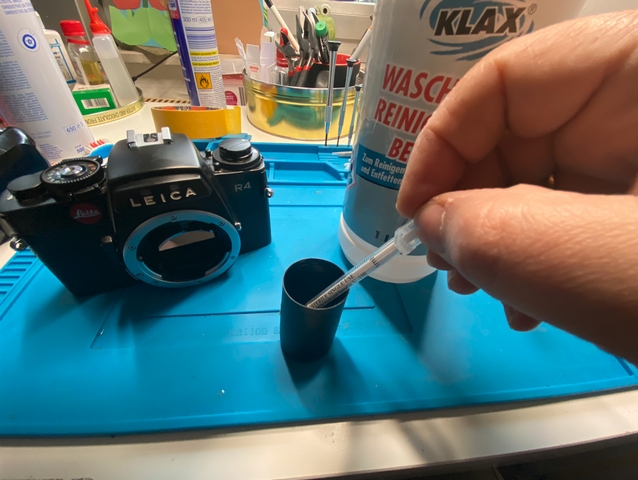
Now we can see the silver piston of the mirror damper while releasing the camera. Set the camera to “B” and hold the shutter release button pressed to hold the piston where you can get to it. Now you can start to clean it. To do this, you’ll need some benzine or kerosene, two very fine medical syringes (like the ones for insulin), and a lint-free cotton swab.
First, put an extremely small amount of kerosene on the damper with the syringe. Less is more! Don’t risk accidentally flooding the camera with the liquid and causing collateral damage to sensitive electronic, mechanical, or optical parts. After each application, release the shutter several times then wipe the solvent from the damper piston with the cotton swab. Repeat the procedure several times. You will notice the mechanism will work more smoothly and with less delay each time.
When you think the delay is gone, get a second insulin syringe with synthetic watchmaker oil and apply an extremely small drop of the lubricant on the piston in the same careful way you did during the cleaning process. Release the shutter several times and apply a second small drop if necessary.
Now reposition the cover in the mirror box. In my case, it was very sticky and stayed perfectly in position. Make sure it is aligned with the mirror box walls and nothing disturbs the mirror’s path.
That’s it! You have fixed a problem rumoured to be an integral flaw of the Leica R4 camera with this unauthorized hack! My camera worked perfectly again after this procedure, with no noticeable shutter delay.
The Leica R4s has a tested shutter delay of 160ms. (Photo Revue, 1985)
For comparison :
Nikon FE2 60ms
Canon Al1 80ms
Minolta X 300: 90ms
Contax MA 110ms
Pentax Super A 150ms
Canon T50 170ms
Ricoh XR P 370ms
Images © Marwan el Mozayen 2022.
You can find an index to the entire collection of SilvergrainClassics magazines here https://silvergrainclassics.com/en/magazine/index-of-articles/

You can find an index to the entire collection of SilvergrainClassics magazines here https://silvergrainclassics.com/en/magazine/index-of-articles/