Improvising A Camera
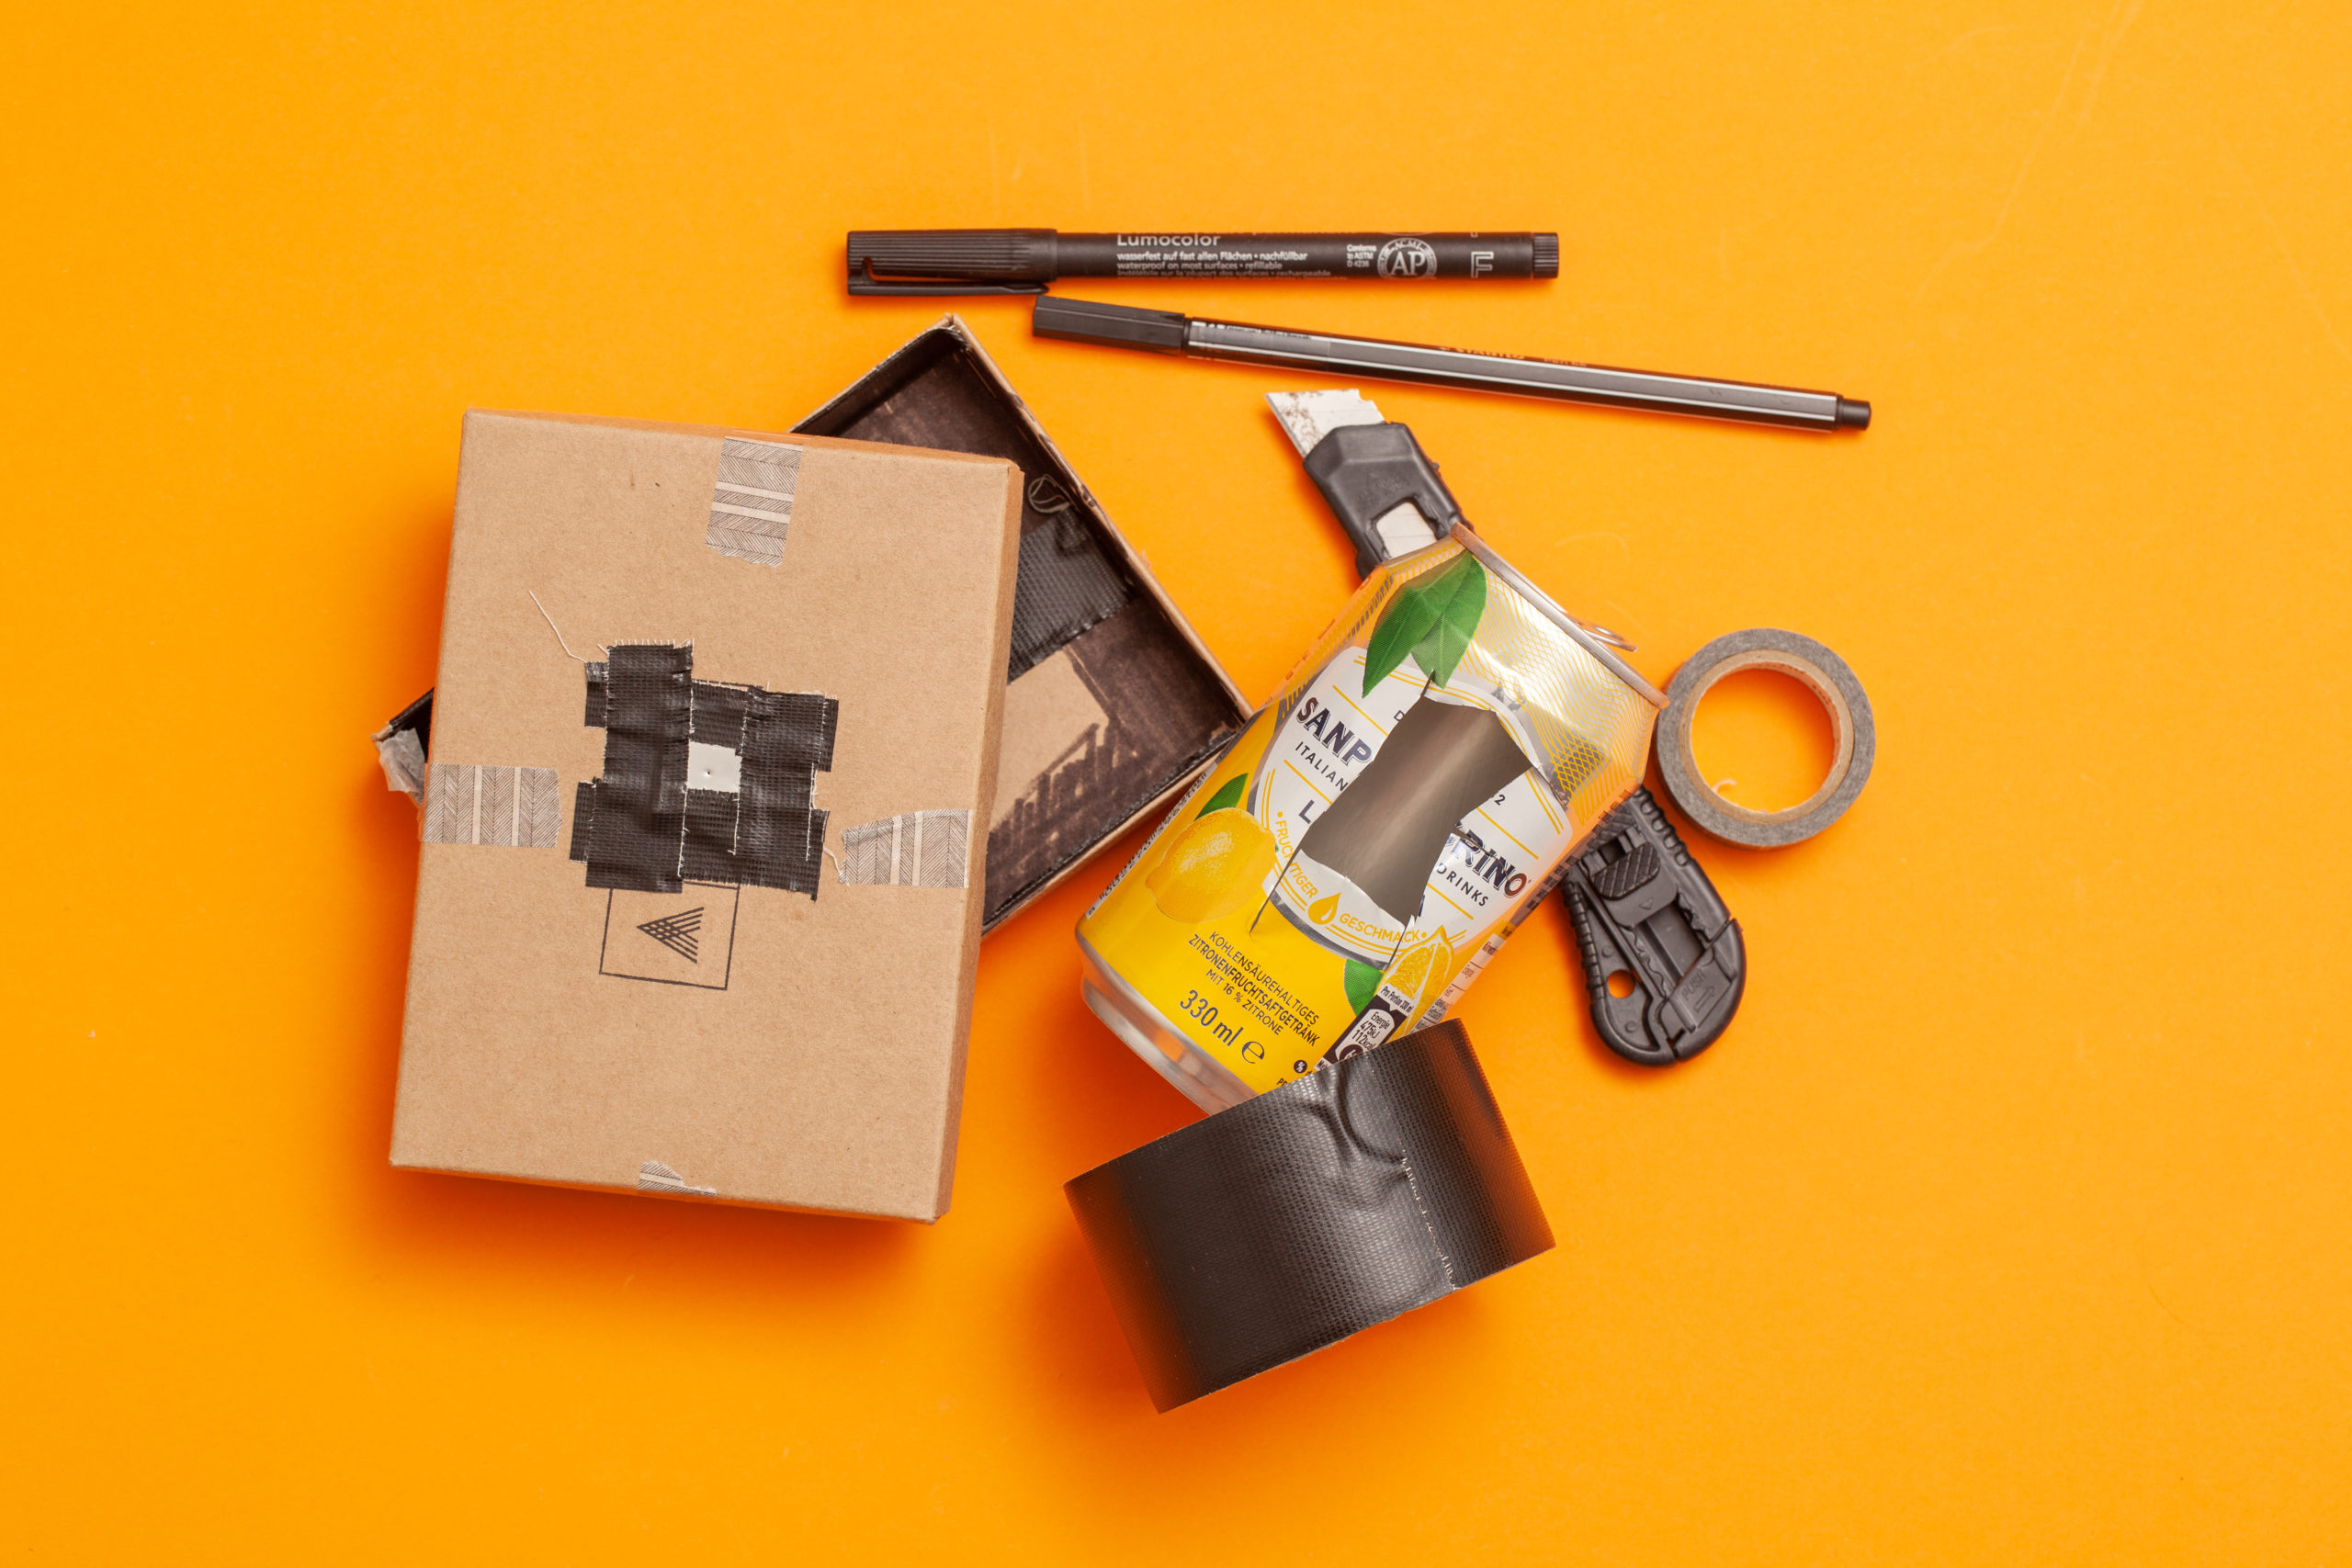
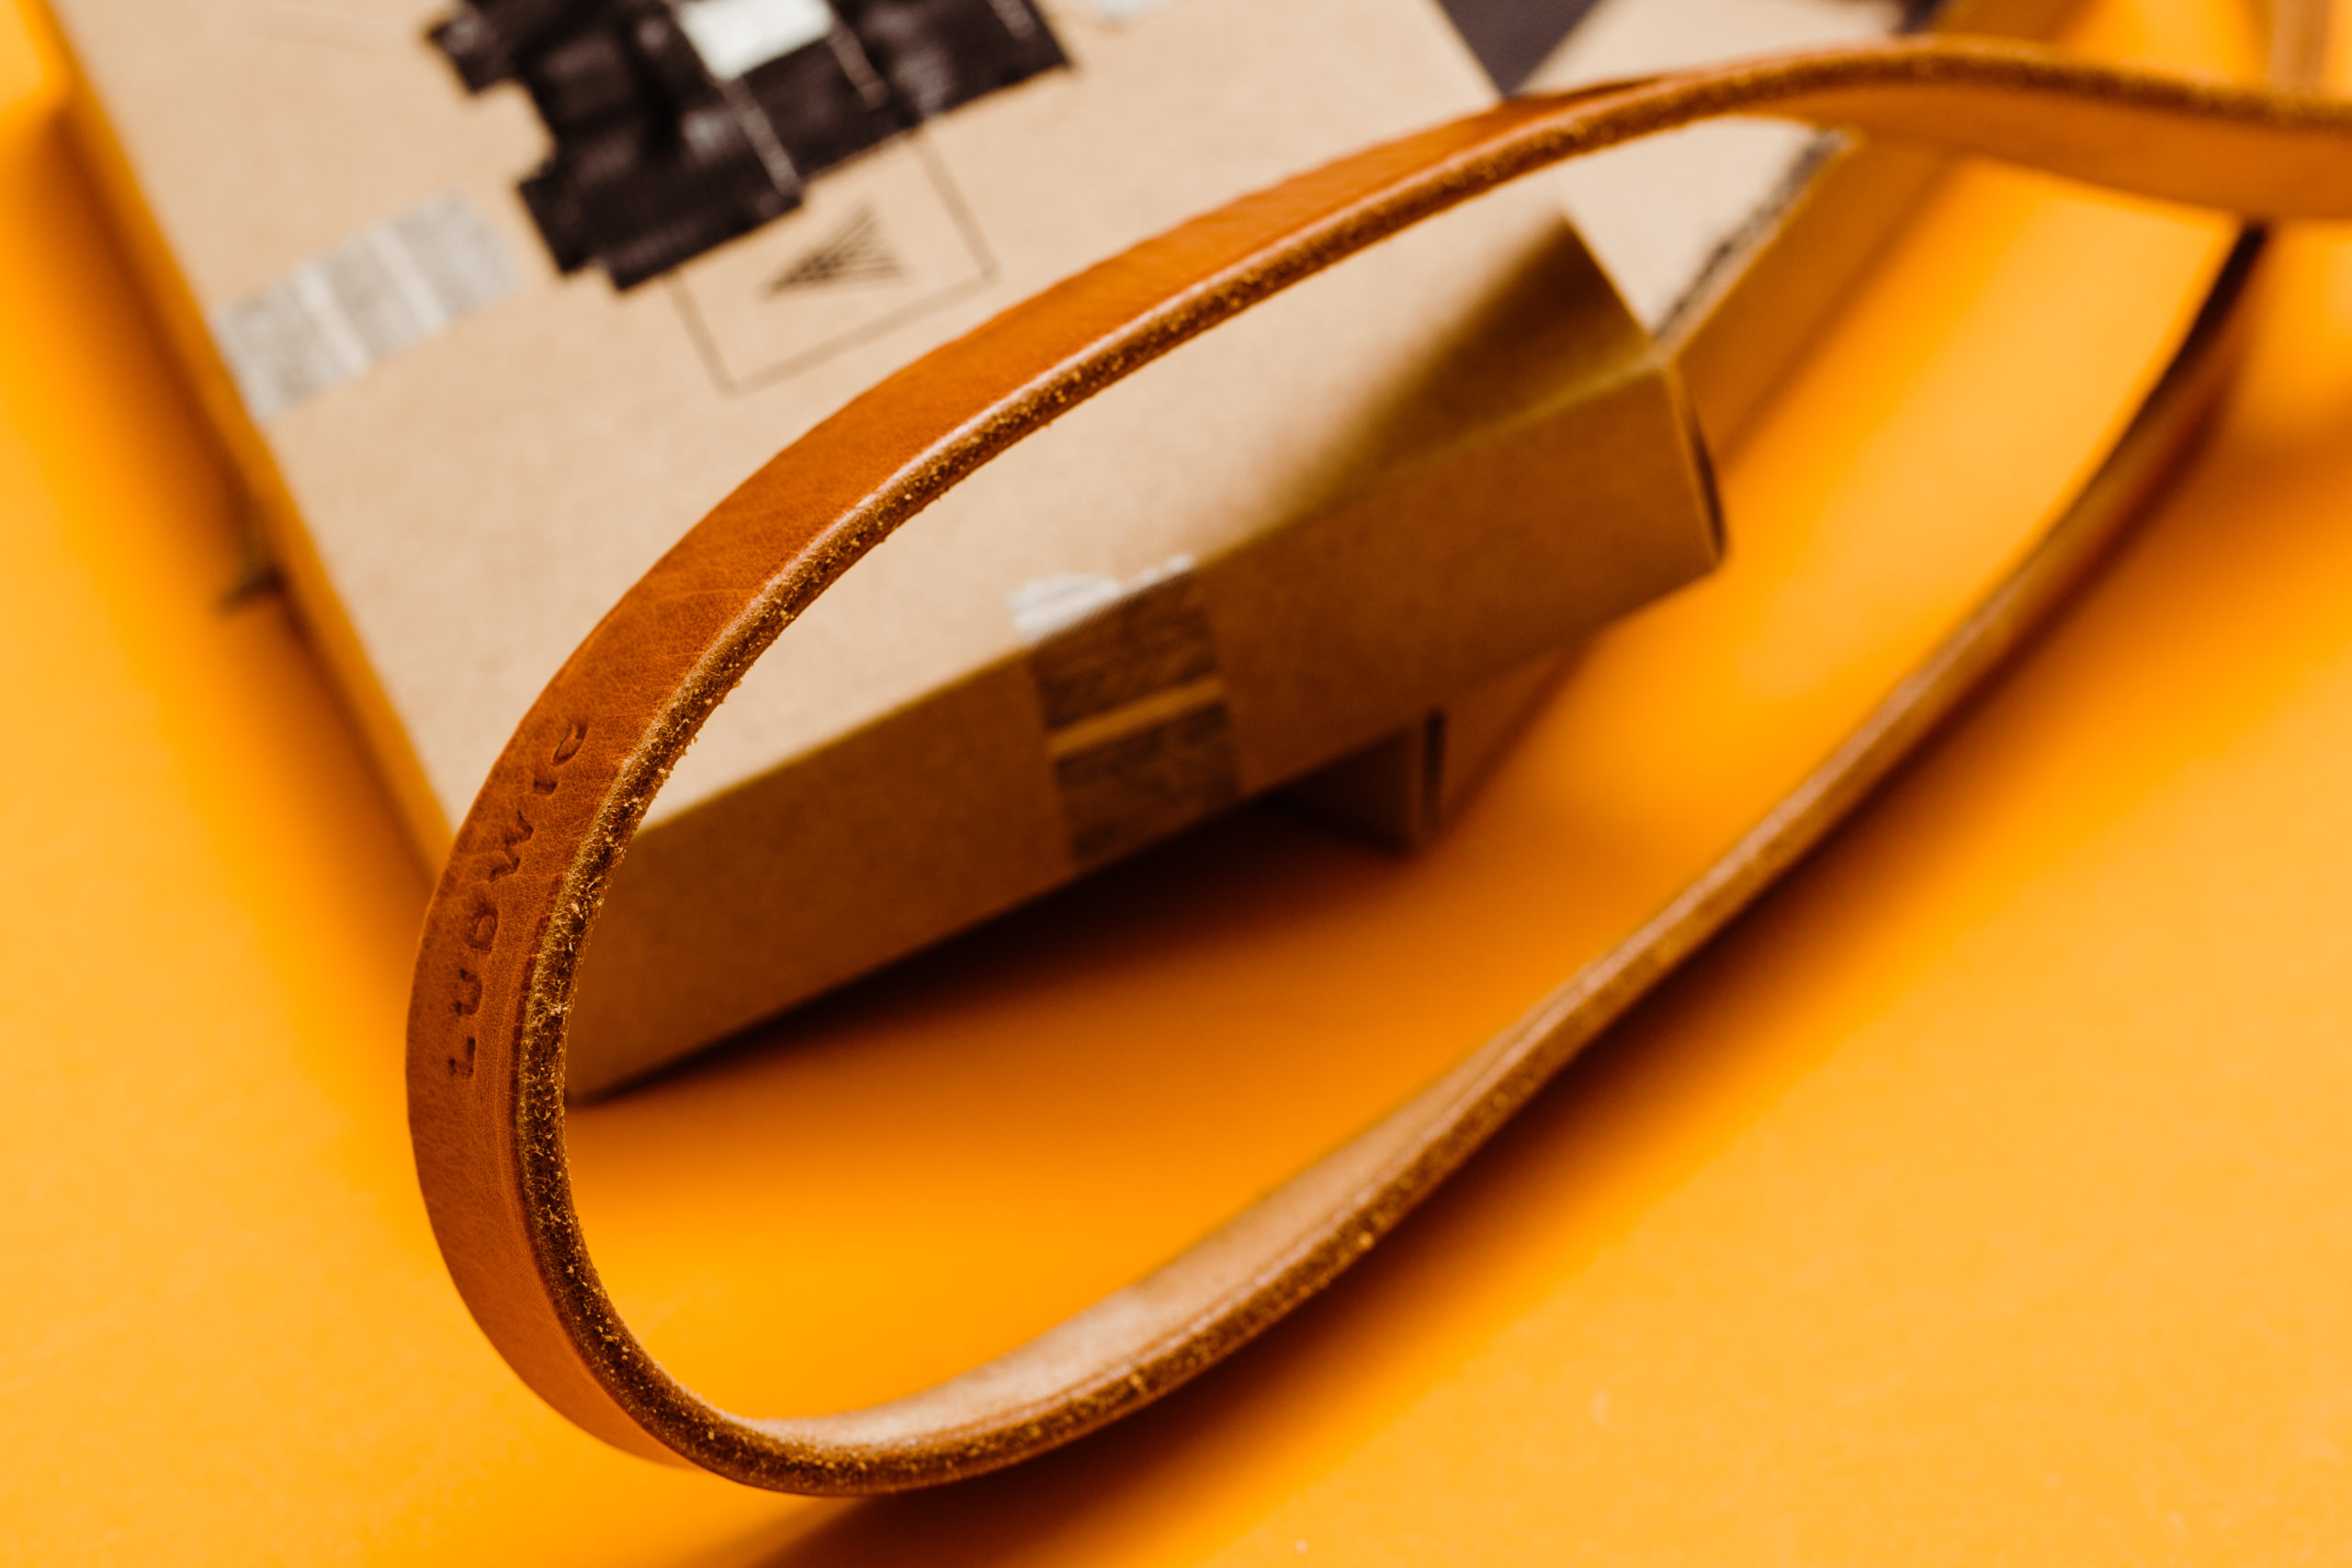
With the idea having devastated my focus on the article, I took a break and began to scan my immediate surroundings for useable material. I found a perfectly sized cardboard box that once contained a lovely leather camera strip made by a small craft shop in Regensburg – a wonderful birthday gift I received from my partner Laura. I eyeballed the size and decided it would nicely fit a 9×13 cm sheet of black and white photo paper. For the actual pinhole, my material of choice was a piece of a soda can. Conveniently, I hadn´t yet thrown it away… A quick glance underneath a heap of assorted papers and documents even revealed I had a roll of black tape and enough black marker pens to darken the interior of the box as well. From my drawer, I produced a rather dull exactor knife and a roll of double-sided tape.
What Do You Need?
In general, to build – or rather cobble together – a pinhole camera, you don´t need much. Sure, you can calculate your aperture and precision engineer it to perfection, but for its most basic form, you only need a light tight container and a tiny hole letting in enough light to be recorded on film or paper. And of course, a bit of tape is helpful to stick it all together and position the camera for making the exposure.
I stared with cutting a rectangular piece of metal out of the soda can with the exactor knife. Take care not to cut yourself, though, since the edges may be sharper than they look. To punch the pinhole, just use a sewing needle and find a suitable item to apply enough force on the needle to punch through the metal. In my case, I placed the piece of cut soda can on my mousepad, positioned the needle in the center of the sheet, and used a wooden IKEA Bergenes phone-stand as a makeshift hammer. Fetching the needle was the only reason why I actually had to leave my desk to build the camera. After punching the hole, I blackened the underside of the metal and put it aside.
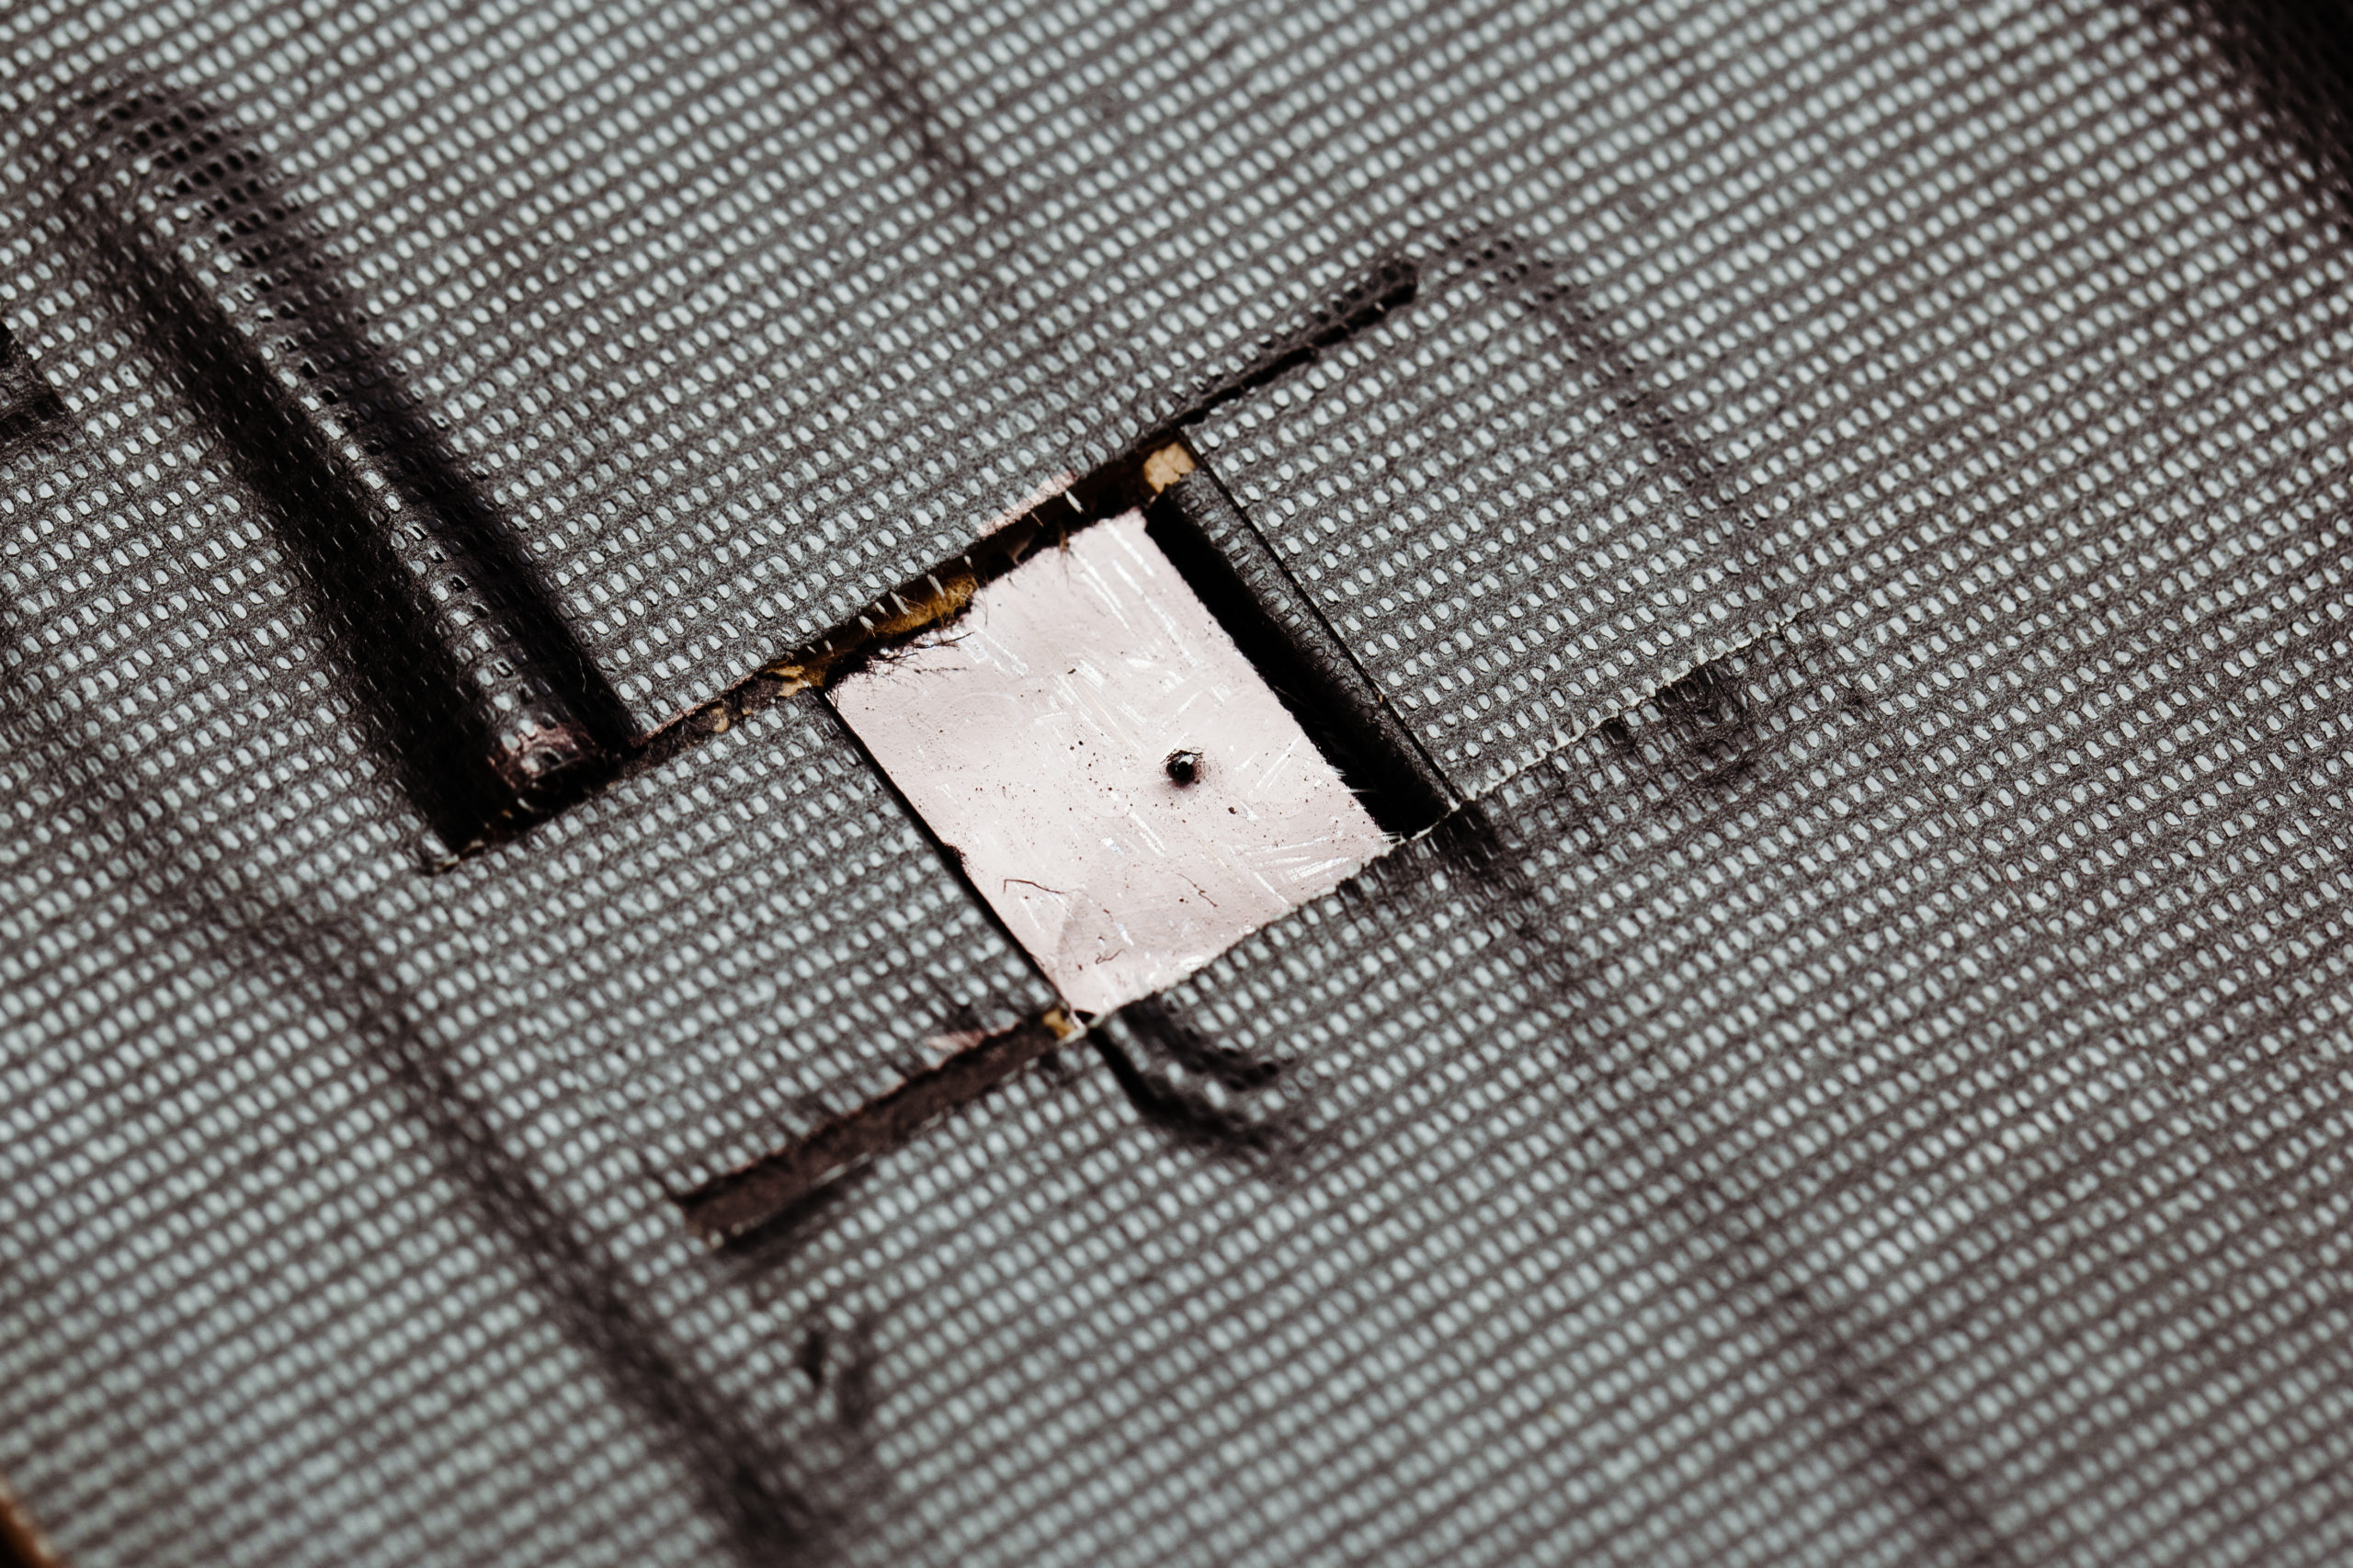
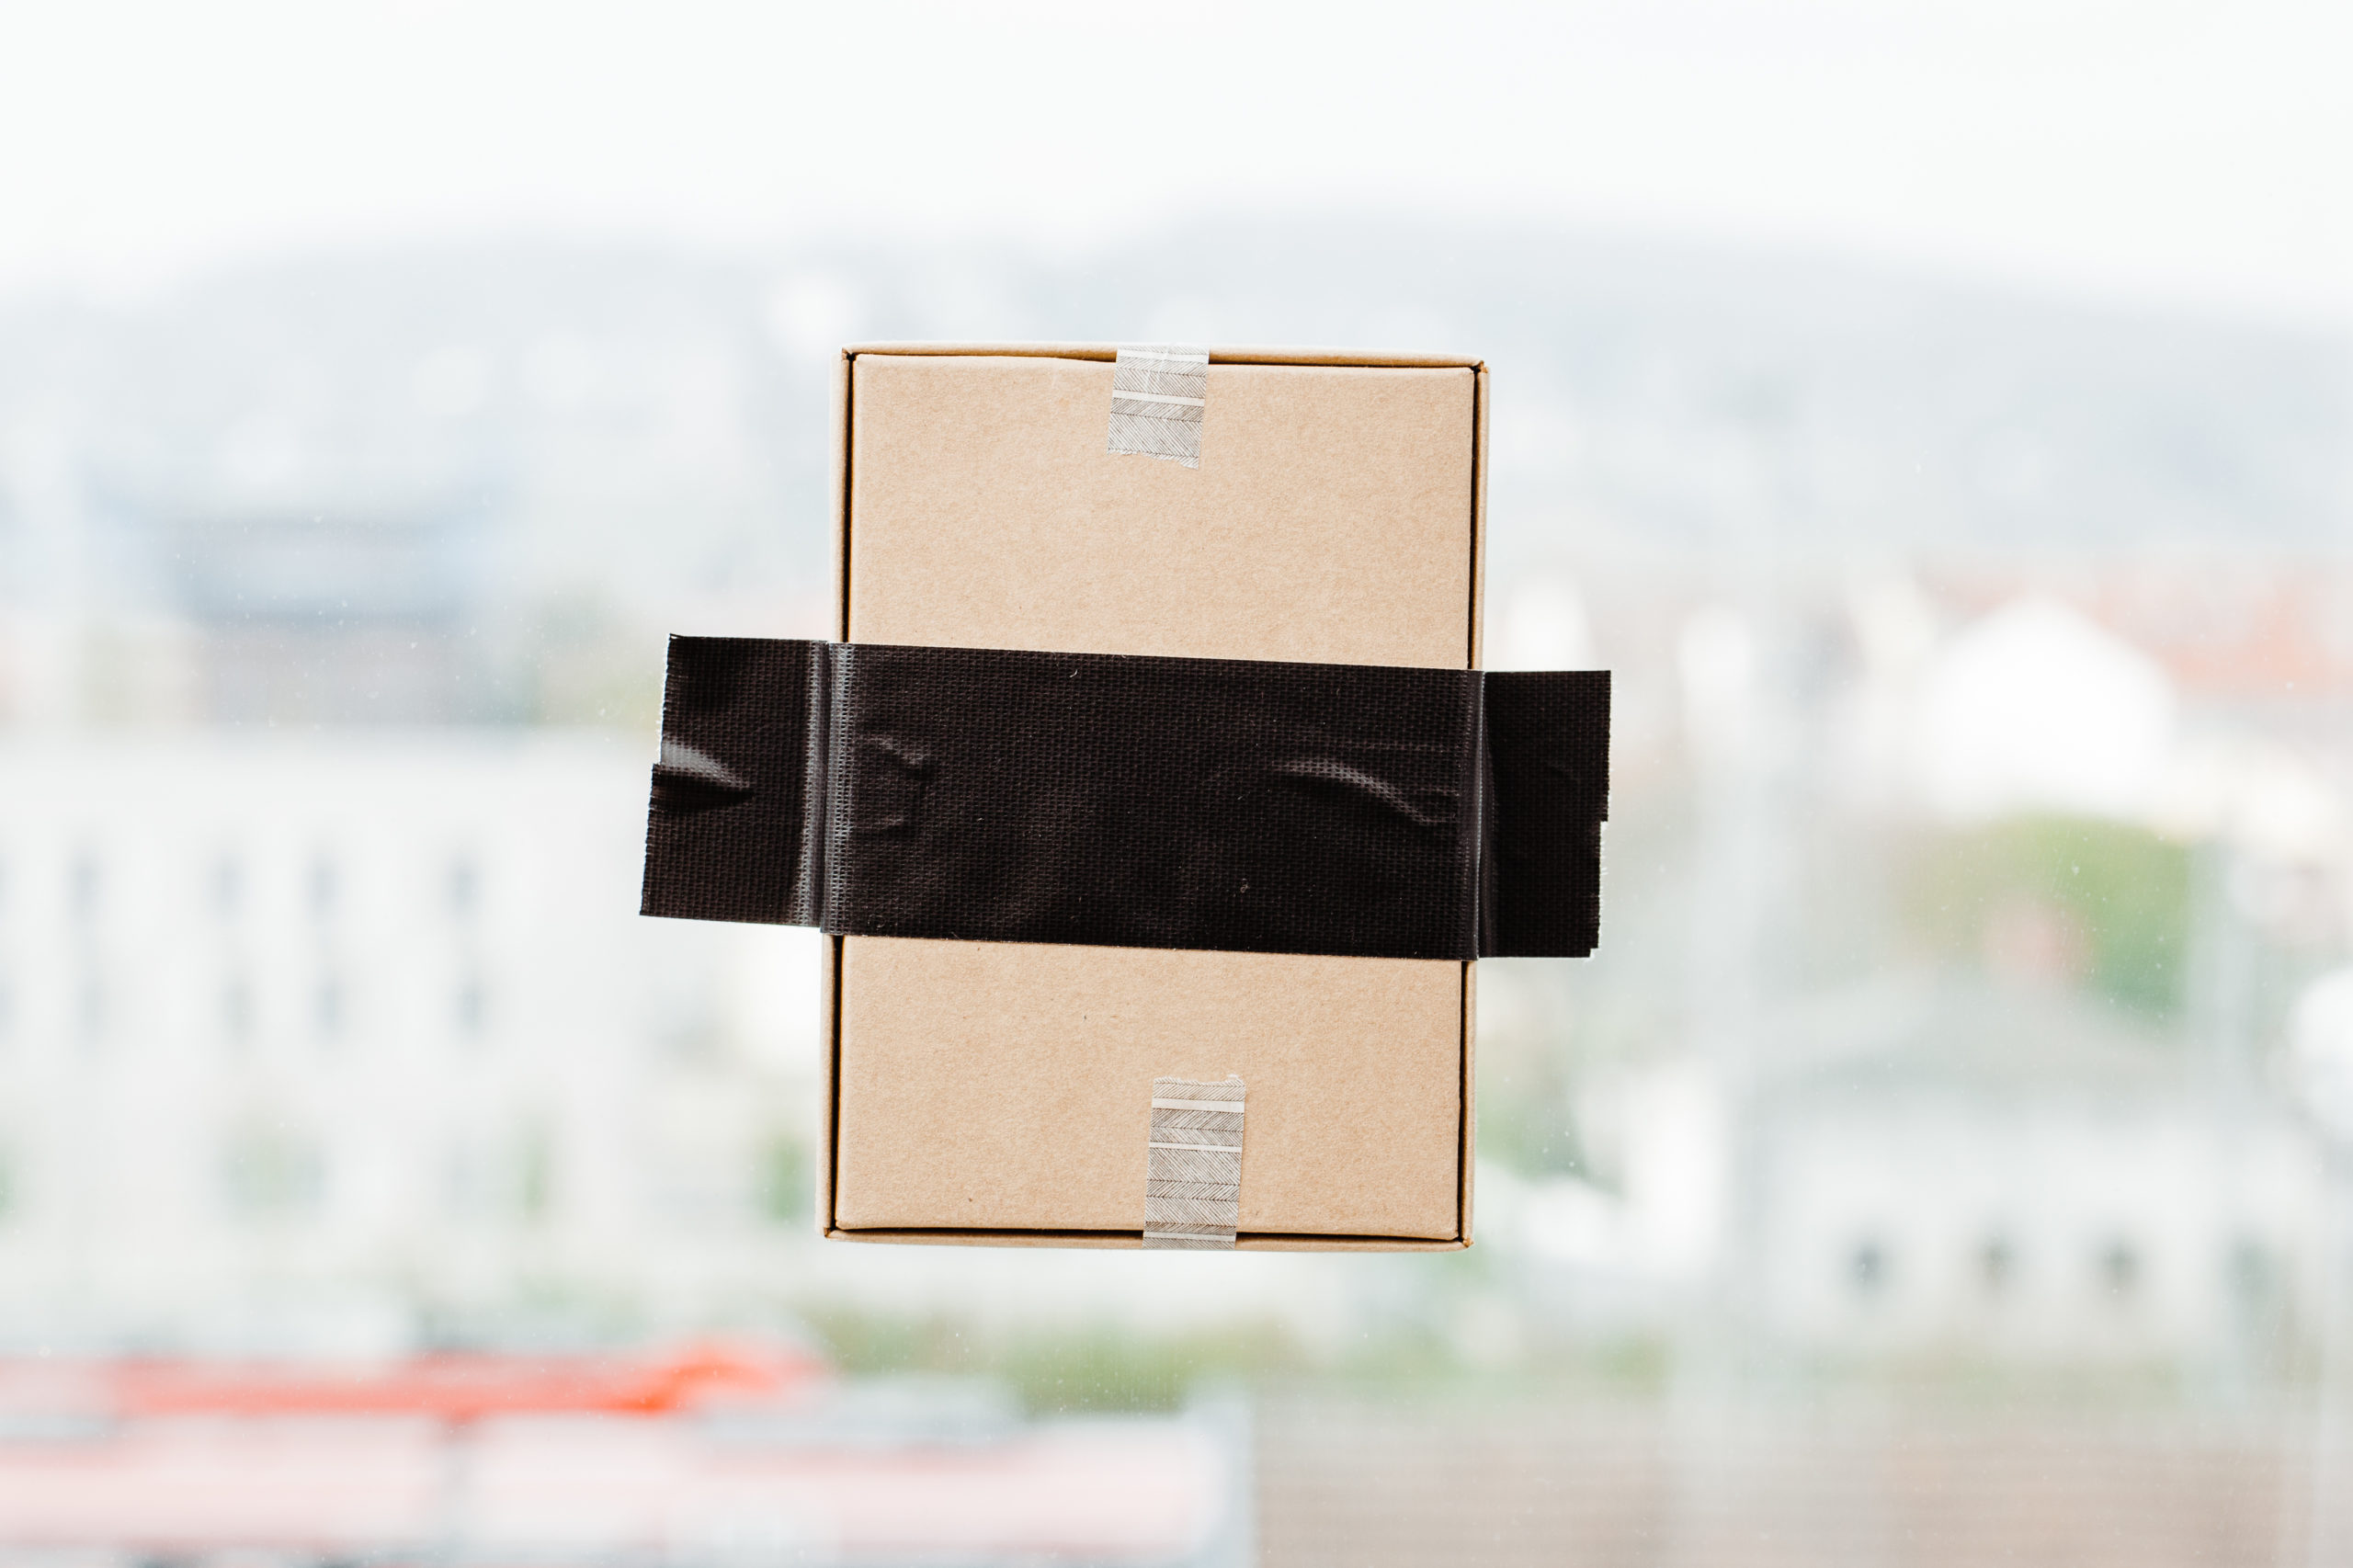
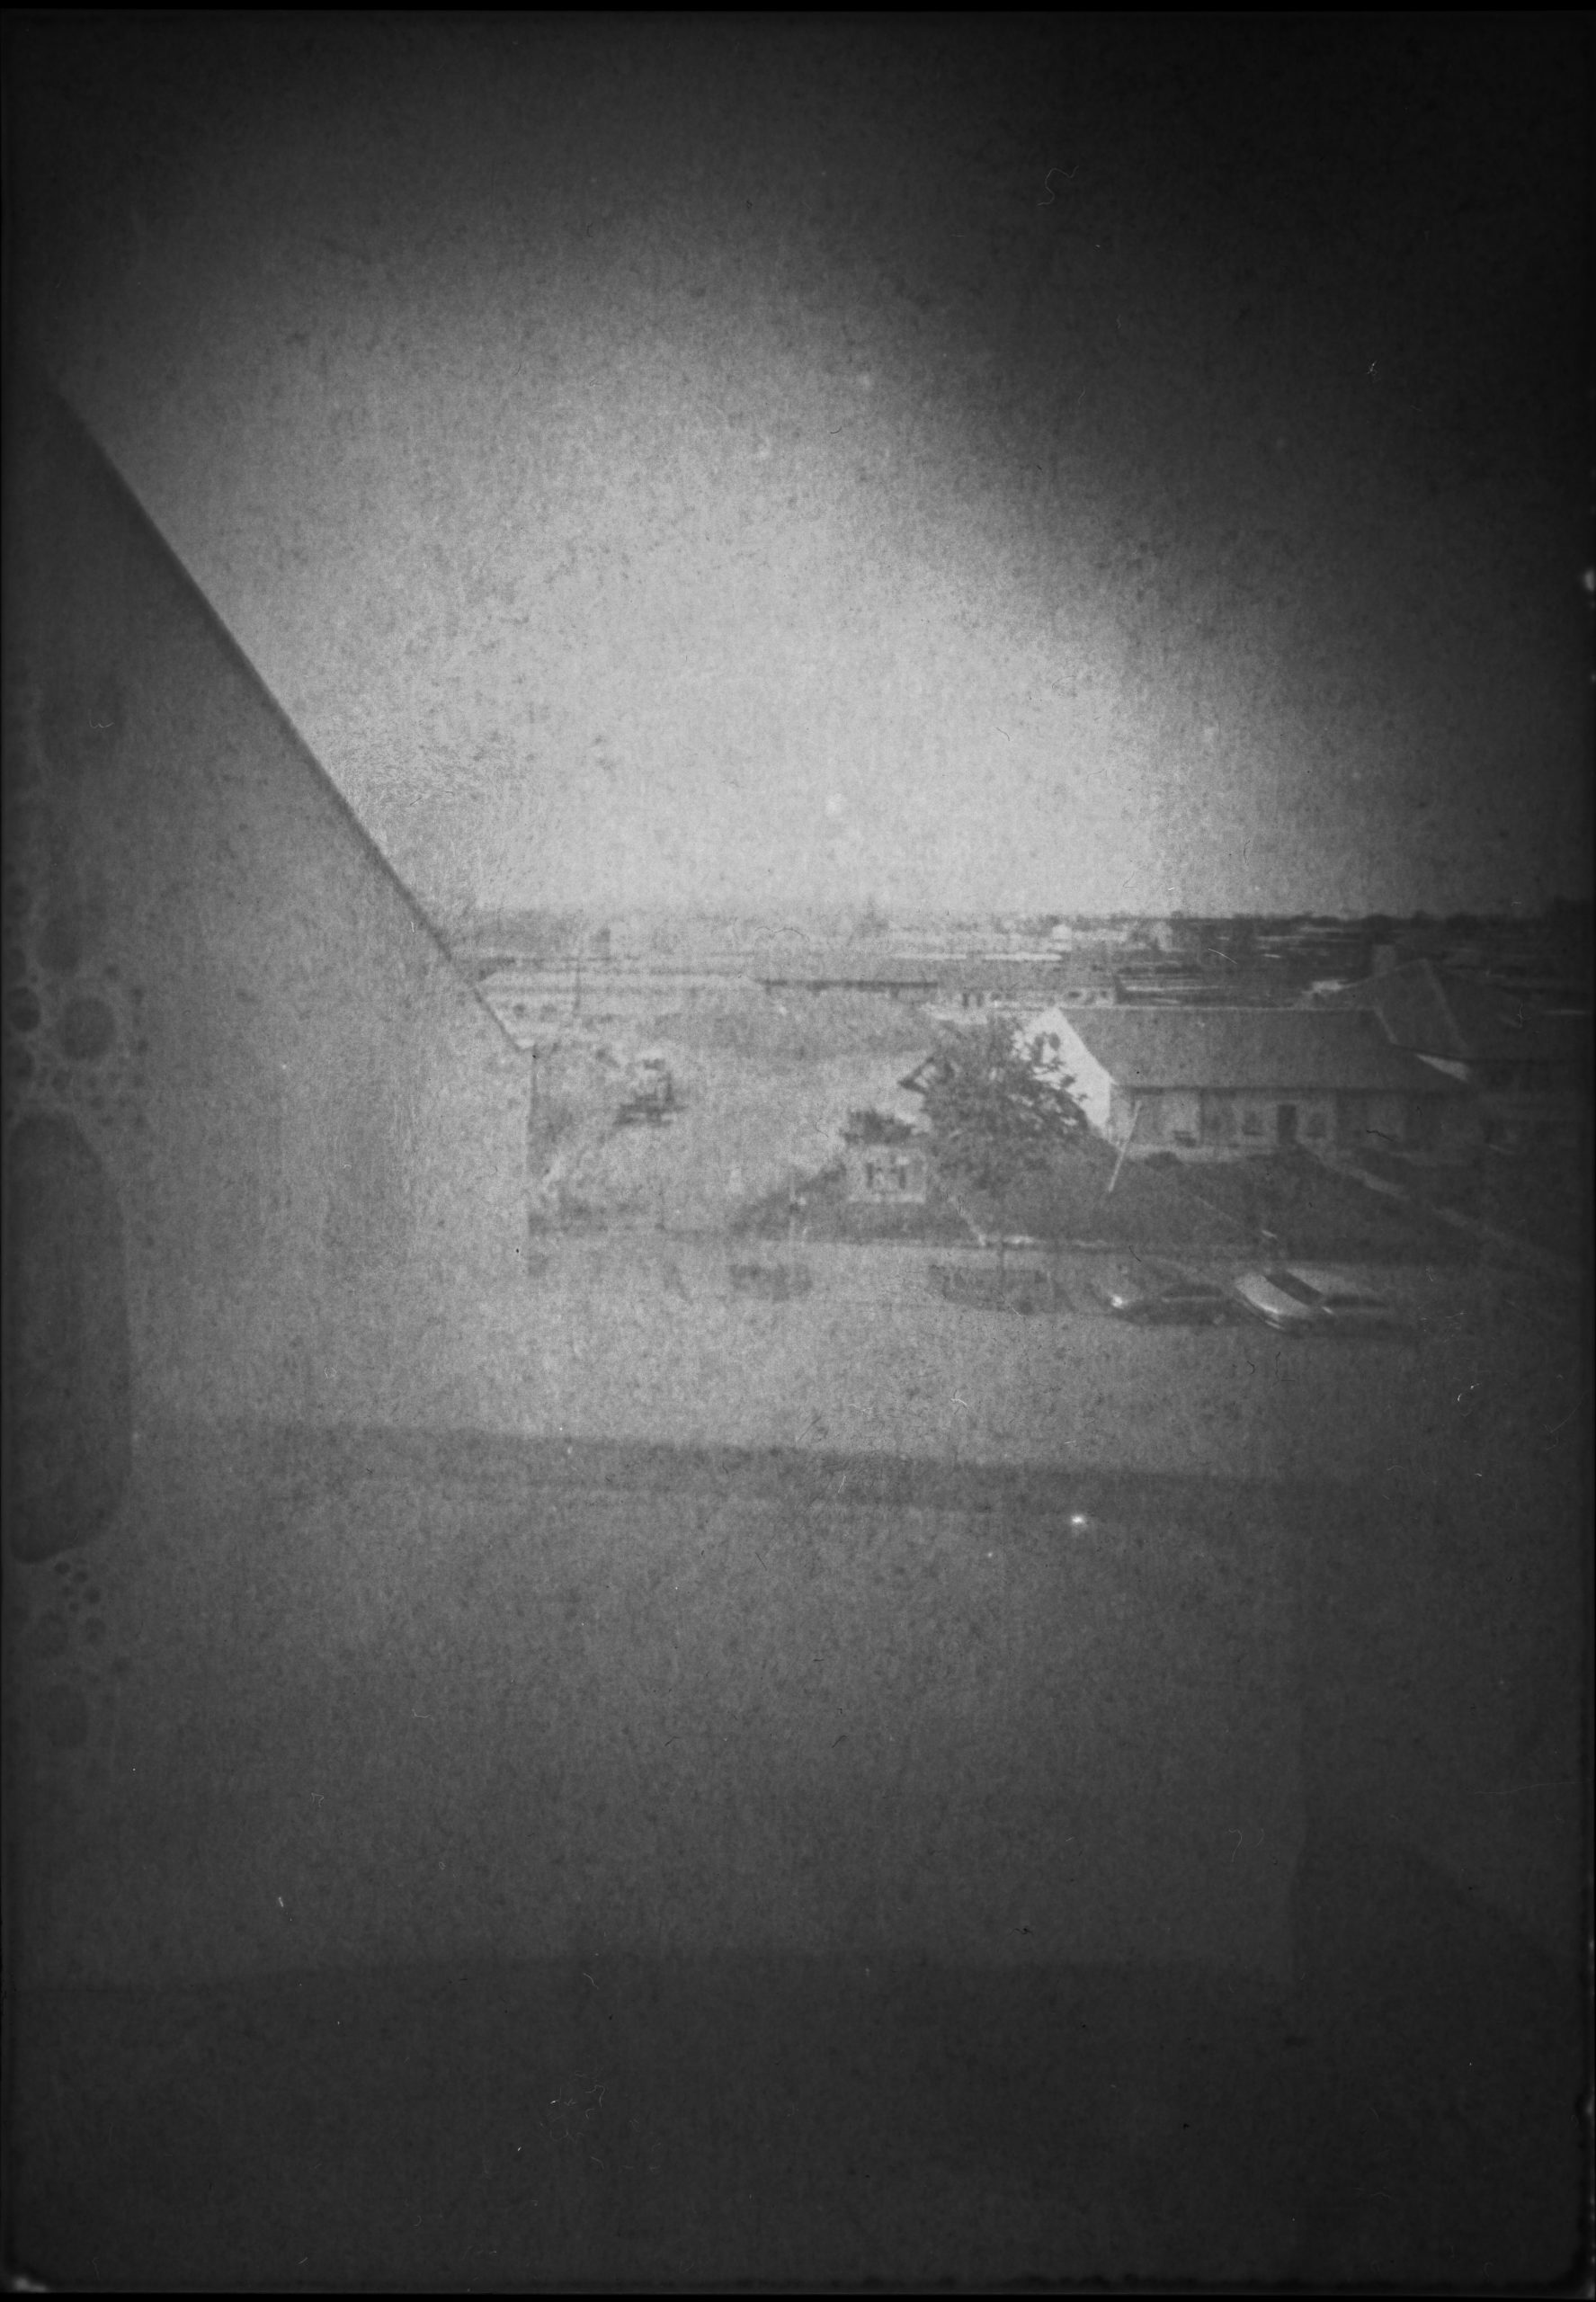
For the next step, I first cut a rectangular hole into the cover of my cardboard box and then blackened the insides of the box with marker and tape to reduce internal reflections. To join all components together, I liberally applied tape around the edges between metal pinhole and cardboard box. I was amused: In less than 10 minutes, I had built a theoretically working pinhole camera. I left the comfort of my chair a second time to enter my darkroom. I quickly grabbed a box of very old ILFORD RC grade 1 paper, because it was the only 13×9 cm paper I had at hand and loaded a sheet into the camera. To fix the paper to the backside of the camera, I used double-sided tape. I applied another layer of tape to seal the camera shut and went back to my desk. To make the actual exposure, I simply took another bit of black tape and stuck it on the windowpane. It´s not stupid if it works. At least that´s the saying.
To determine the exposure time, I looked outside – it was sunny with a few clouds here and there – and decided to proceed with an exposure of about 20 minutes. I set a timer and went back to working on my article. After the timer had run out, I simply removed the box from the window and stuck a piece of black tape over the pinhole and set it aside. Once my article was finished, I went back into the darkroom to develop it. Since I was extra curious, I did not use a normal tray though: Instead, I decided to try to develop the sheet in a JOBO tank, without reels but only the center column inserted to keep out light.
To develop the paper, I used HC-110 B because I had no freshly mixed paper developer ready at the time. After about 2 minutes – I didn’t stop the time – I poured out the developer, flushed the tank with water and fixed the image. Amazingly, there was an image! While definitely not a great image, it was a photograph nonetheless, and the whole process a refreshing exercise in improvisational thinking. Pinholing can be that easy. And in the end, my desk was a little less cluttered as well. Win win!
If you haven’t ordered Issue 10 yet, you can do that here: https://shop.silvergrainclassics.com/detail/index/sArticle/12400